Zipper Die Cut Set Video Tutorial
(Video captions)
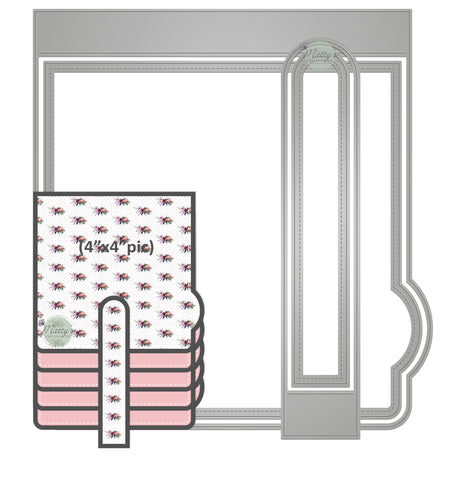
This set features three dies:
A zipper die and two zipper pull dies.
The zipper die opening is 3.5" x 3.8", and it features an embossed stitched line which gives it a realistic look. At its top, there are notched markings to help you place the die at the exact spot on your card edge.
There are two zipper pull designs. Just choose the one you prefer for your project.
1) You will need a 4" x 5.25" piece of cardstock.
2) Align and place the zipper die at the edge of your card stock. Secure it with tape and run it through your cutting machine. Remove the die, and the zipper die cut is ready.
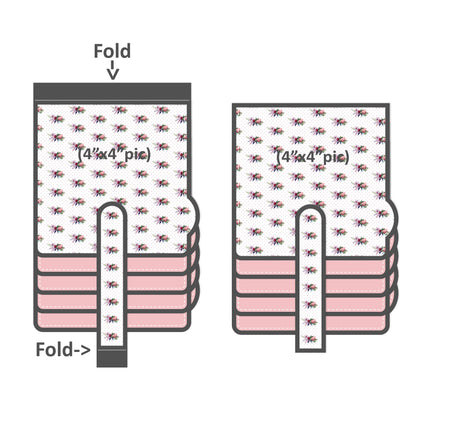
3) You can glue another 4" x 5.25" cardstock underneath it, to make the zipper line "pop out", and then attach it to your card. Or, you can simply attach it as it is to your A2 card [4.25" x 5.5"].
4) You can use the zipper die-cut as a pocket. To form a small pocket, apply glue only on the zipper die-cut's outer edges.
5) Choose the zipper pull you prefer, and run it through your cutting machine.
Embellish the card, add a sentiment, and insert a small tag into the front pocket.
Enjoy...
Best Sellers:
View all-

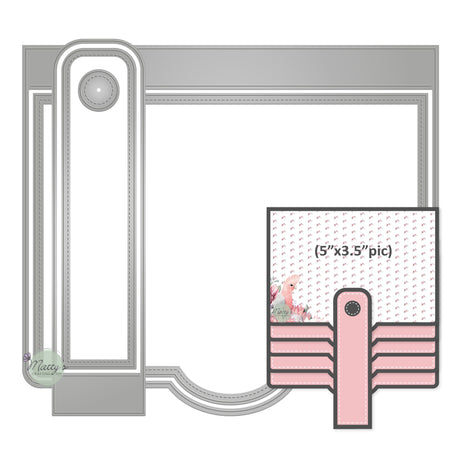
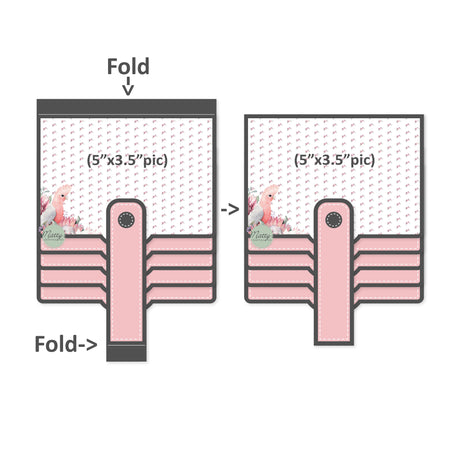
Rectangular Waterfall Flap Dies, Set of 5
$1497Unit price /Unavailable -
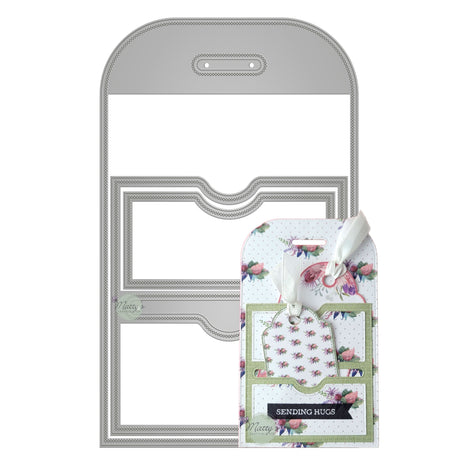
Stitched Slots Pocket Die, Set of 2
$1497Unit price /Unavailable -
$1497Unit price /Unavailable
-
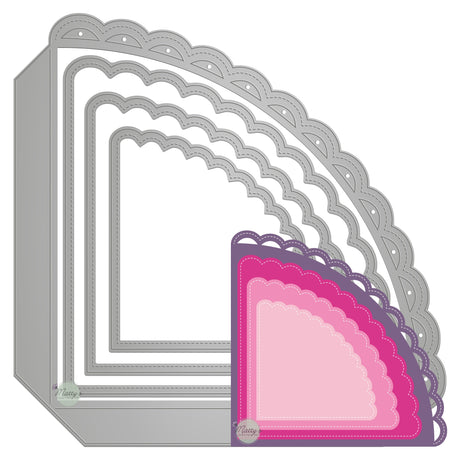
Nesting Corner Pocket Dies, Set of 4
$1295Unit price /Unavailable -
$1497Unit price /Unavailable
-


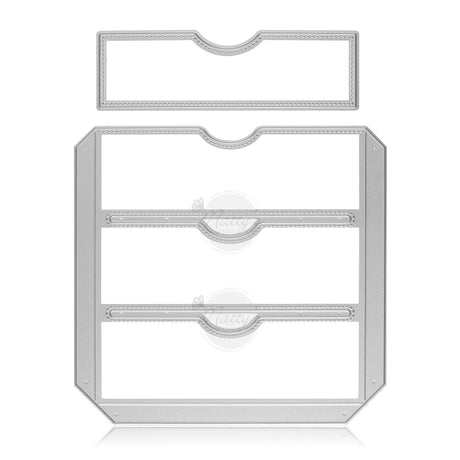
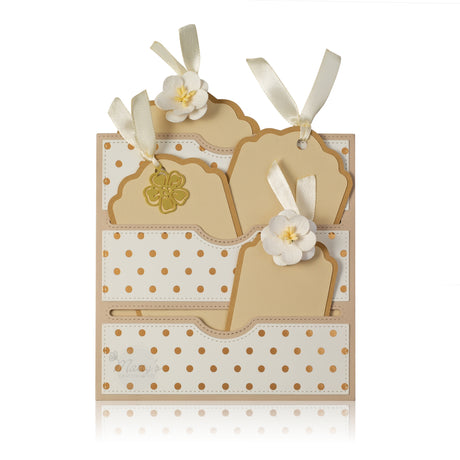
Square Waterfall Flap Die, Set of 4
$1497Unit price /Unavailable