
One of the things I love so much about crafting is that not only you can set your mind free and be wonderfully creative, no limits apply, but you can also use endless materials and techniques while creating. The richness of the crafting world is intoxicating, making you want to buy more and more new products and try new techniques that you hear about.
But sometimes, as we follow instructions regarding a product or a technique, we get used to using it in a specific way, and we forget to be creative with it.
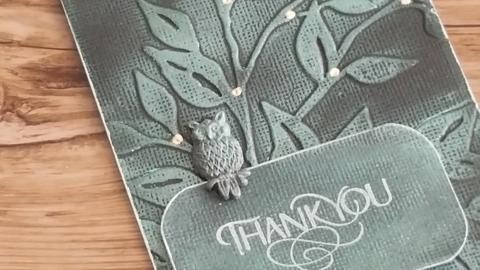
Let's take heat emboss for example. Many scrapbookers use embossing powders with stamps for the thick and shiny look. An embossed stamp will always stand out and look smarter than a basic ink stamp.
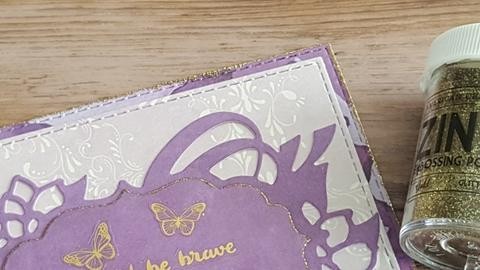
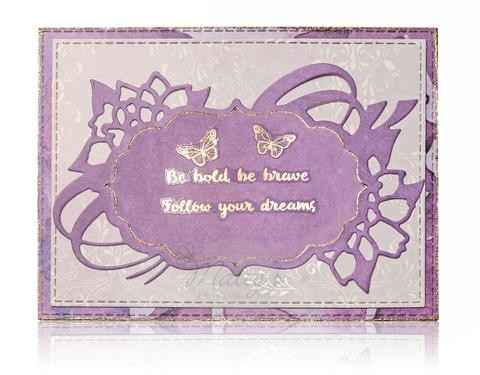
Now let's take a card or a label frame. There are framing techniques which scrapbookers use a lot, like drawing border lines, distressing, matting and layering, and others.
And now…let's combine them together: take a fine-looking frame plus the embossing powders we already have at home, and we'll get a stunning heat embossed frame for our paper craft.
I use gold and silver embossing powders to frame many of my DIY cards, tags, and labels. It's a great way to get a fine and professional look like in some of the ready-made greeting cards you buy in your local stationary store.
I can't remember what made me start using this framing technique, to begin with, but when I started posting pics online, and getting many, "How did you make this stunning frame?" questions, that I realized how many scrapbookers aren't aware of this way of implementing heat emboss to decorate and get stunning results.
Instructions:
1. You can use pigment ink pads or ink pens.
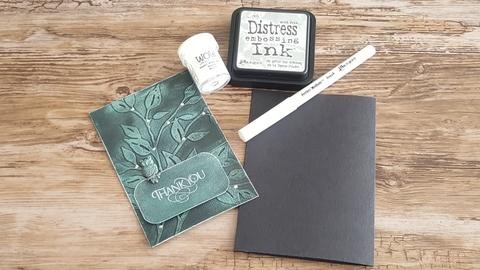
2. An ink pen is better when correcting embossed areas.
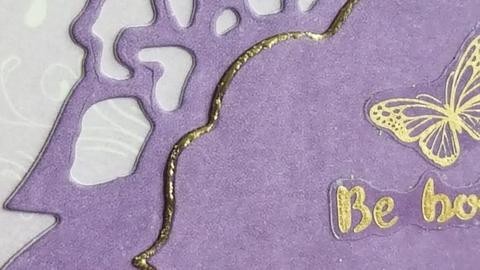
3. Heat Emboss small sections of the frame each time to keep it from getting messy.
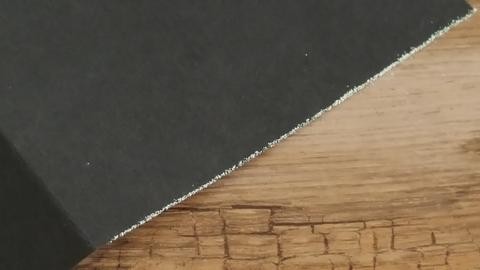
4. Sometimes less is more. A thin embossed edge is all you need for adding a fine touch to your card. Don't be tempted by the thick and messy.

So, there you have it. I hope you like it.
Happy crafting!
Matty