
I struggle a lot when designing a front cover for my DIY albums. I like big labels that stand out and draw your eyes to the center of the cover, but if I'm not using a pre-designed label, chipboard or sticker, it takes me ages. I get lost with design options, wanting to make it unique and beautiful.
So, I've decided to design a unique label die that will solve this problem for me and hopefully for other crafters. I started playing around with my designs, trying to think out-of-the-box from the usual label shapes. I decorated and added accents around the main shape until it looked harmonious to me. Then, since I like layering, a layered label made sense. Hence, the nested label shape I added.
Only when I started making a few sample cards for my online store photo shoot, it hit me. Why just layering with the set? Why not make a shaker card using the large Decorative Label Die as a frame and cutting out the window with the smaller label die?
So simple to make; no new techniques or special scrapbook tools. Just one beautiful Label Die Set that makes all the difference.
Instructions:
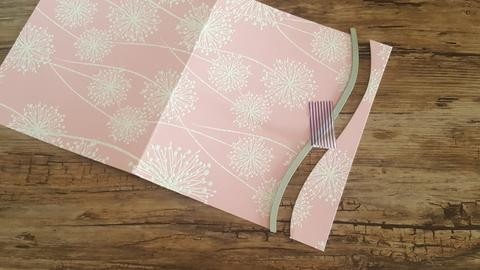
Use a 5.5" X 8.5" sheet of patterned paper. Fold it in the middle to make a 5.5" X 4.25" card.
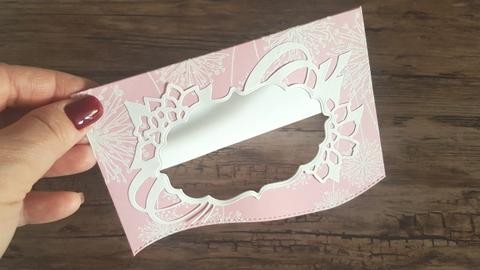
Use a border die and cut about 1" at one end of the card. This will be the front of the card. 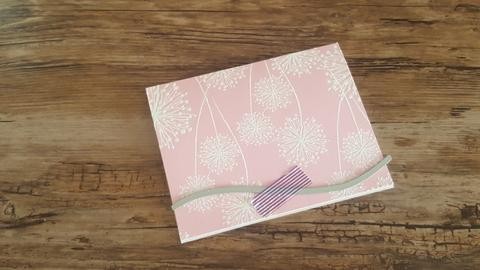

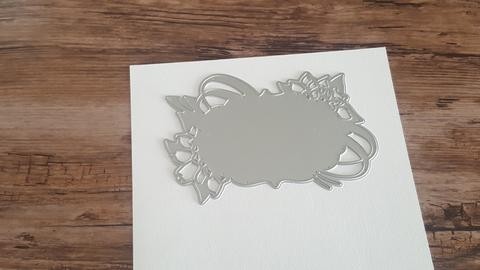
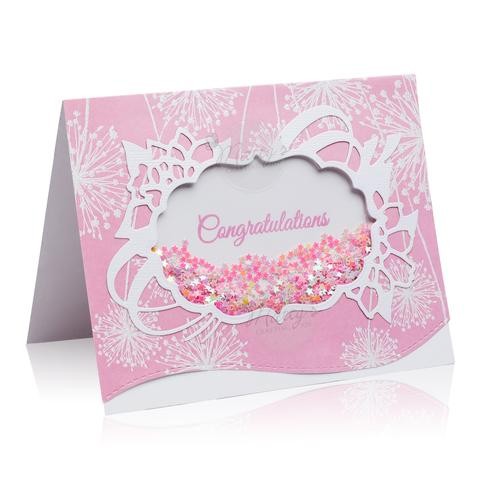
Die cut a sheet of white cardstock with the Large Decorative Label Die. Position and glue in the middle of the front side of the card.


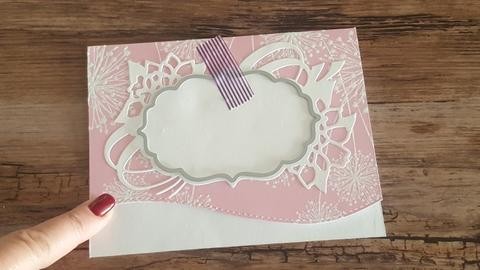
Position the smaller Label Die in the middle of the larger label. Use a small piece of washi tape to hold in place. Make sure you have an even space all around the small die. Now cut the two layers in your die cutting machine and you'll get the window in the middle.
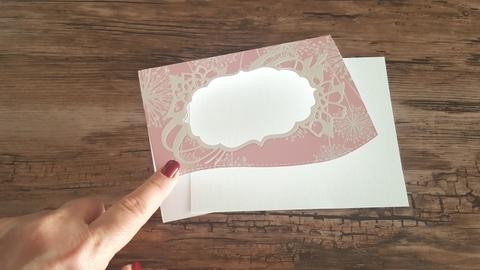
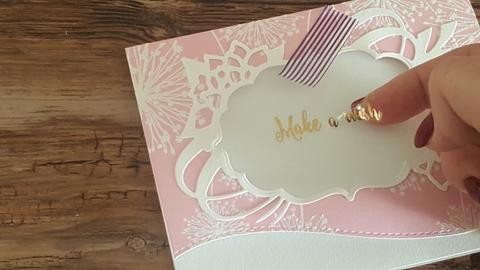
Take a 5.5" X 4.25" piece of white cardstock; position and stamp/emboss/ add a sticker sentiment, so it will show in the middle of the shaker card window when attached.
Take a small polybag, a bit bigger than the window size, and fill it with your choice of glitter.
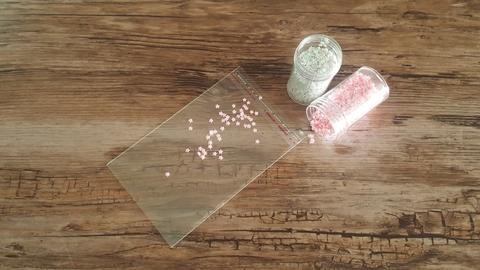
Close well and glue to the back of the window edge.
Glue the sentiment white cardstock at the back of the window. Make sure to align it while folding the card.

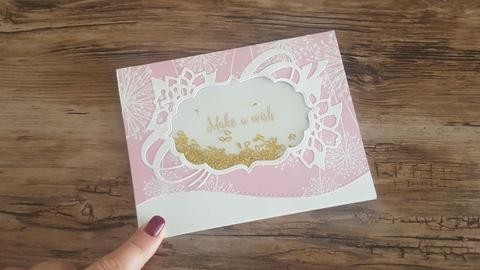
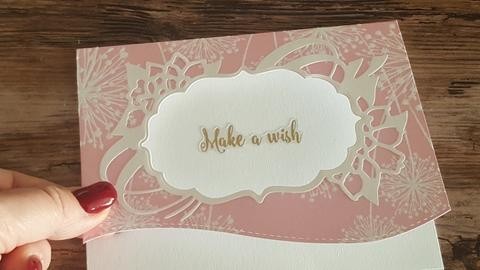
That's it. The decorative label shaker card is ready.
So, there you have it. I hope you like it.
Happy crafting!
Matty